We have a beautiful little girl staying with us until her mother returns from deployment. I decided to make a board book for the baby (she is still a baby, relatively speaking) with photos of her mother.
Here is the first stage: Creating the Pages in Photoshop
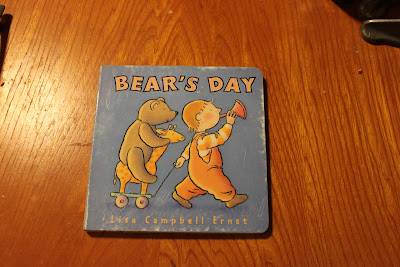
First I found a board book at the thrift store that had seen better days. This one,
in fact, was destined for the trash bin at the end of the week.
|
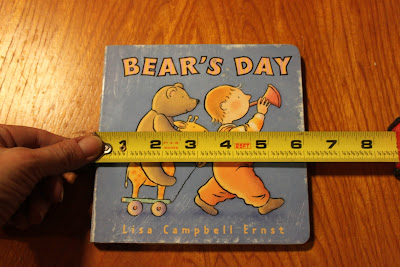
Next I measured the dimensions.
|
It turned out that this one was exactly
six inches square.
|
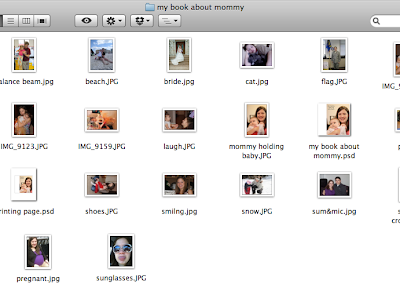
I decided on the pictures I wanted to use and put them in a folder so I had easy access.
|
In Photoshop, I created a new file (file > new)
|
and used the dimensions of my book (6 x 6 inches) and 300 pixels per inch, which is the recommended amount for printing.
|
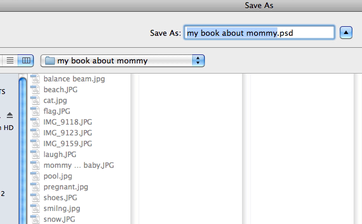
I immediately saved by going to File > Save As and navigating to the folder with the photos.
|
I named the file and saved.
|
Then it was time to add a picture by going to File > Place
|
I chose the photo I wanted for my cover and clicked "Place."
|
The image appeared, but it wasn't actually "placed" on the canvas until I hit "enter."
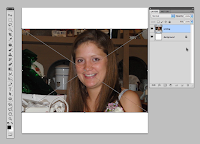
But before that, I wanted to resize the image to fill the entire area.
|
But the area where I was going to put the name of the book was filled with the photo, so I wanted to put a text panel over the area to the left where the title was to go.
|
So I grabbed the Marquee Tool
|
and dragged it over the area
|
Then I went up to the Window menu and clicked Actions to bring up the Actions palette.
|
Under the Text Effects folder I clicked Text Panel. (Note: if you're doing this and you don't find the Text Effects, go up to the top right corner of the panel and click the little triangle for the dropdown menu and scroll down to find it.)
|
Next I clicked the play button at the bottom of the Actions palette.
|
And Behold! A text panel was created.
|
Then I renamed the layer and because the panel wasn't really dark enough for me I decided to make a copy of the layer to double the intensity.
|
I made a copy of the layer by grabbing it and pulling it down to the tiny icon next to the garbage can. The tiny icon looks like a tiny little page. This is really the New Layer icon, but by dragging the other layer to it, I now have a copy of that layer.
|
Now to add the text, I got my Text Tool
|
And used the cursor to drag out a rectangle, creating a text box on top of the text panel.
It's kinda like creating a text box in Microsoft Word.
|
Then I just typed my title.
|
To make changes in the text, I clicked the little icon that looks like this at the top of my screen (I was still in my text tool).
|
Clicking that icon brought up a screen that looks like this.
Then, with my text still selected, I played around with the settings for the text.
|
Because I was going to have a lot of layers, I wanted to make sure I was keeping them organized, so I selected my layers (clicked on the top layer, held down shift, clicked on the bottom layer),
|
then pressed Command G for the Mac [or Control G for PC), and all my layers were placed in a group.
|
I renamed the group, and I was done with the cover!
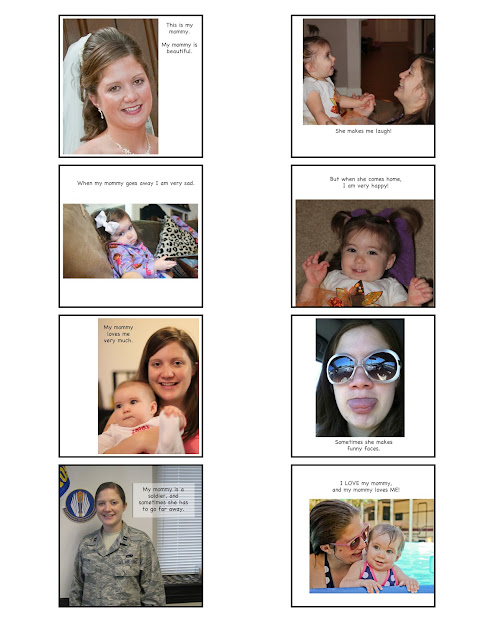
The remaining pages were created similarly--using text boxes and resizing the images,
although unlike the cover, most of the images didn't fill the entire page:
|
So that's the first part: designing the pages.
Next I printed the pages, cut them out,
laminated one side and glued them into the book.
But that's another blog post!








No comments :
Post a Comment